Start with the requirement that may have failed
Use this receiving checklist to request useful evidence. A visible symptom is a starting point for investigation; it does not establish the cause or the disposition of an entire lot.
| What you observe | First receiving check | Evidence to request |
|---|---|---|
| Colour or gloss mismatch | Compare identified parts with the approved sample under agreed conditions | Material and finishing lot identification; appearance record |
| Peeling or blistering | Preserve a sample and mark the affected face | Preparation, cure and agreed adhesion records |
| Pinholes, craters or rough texture | Record location, distribution and when it appeared | Local measurements and a comparison sample |
| Thin or missing coverage | Check the drawing for coverage, masking and permitted contact areas | Location-specific inspection results |
| Corrosion or staining | Record the as-opened packaging and part condition | Finish identity, relevant test report and storage history |
| Tight holes or poor contact | Check the specified finished condition | Dimensional, masking and agreed functional results |
Review the first article before accepting repeat lots
A useful approval package identifies the visible faces, mating features and contact areas on the actual part. Number the inspection locations on a drawing or annotated photograph. Include the sample revision, the method for comparing appearance and the records needed with repeat deliveries.
Avoid a release instruction that only says “same as sample.” State which characteristics the sample represents and which need separate measurement. For example, a colour sample does not define the finished diameter of a locating hole.
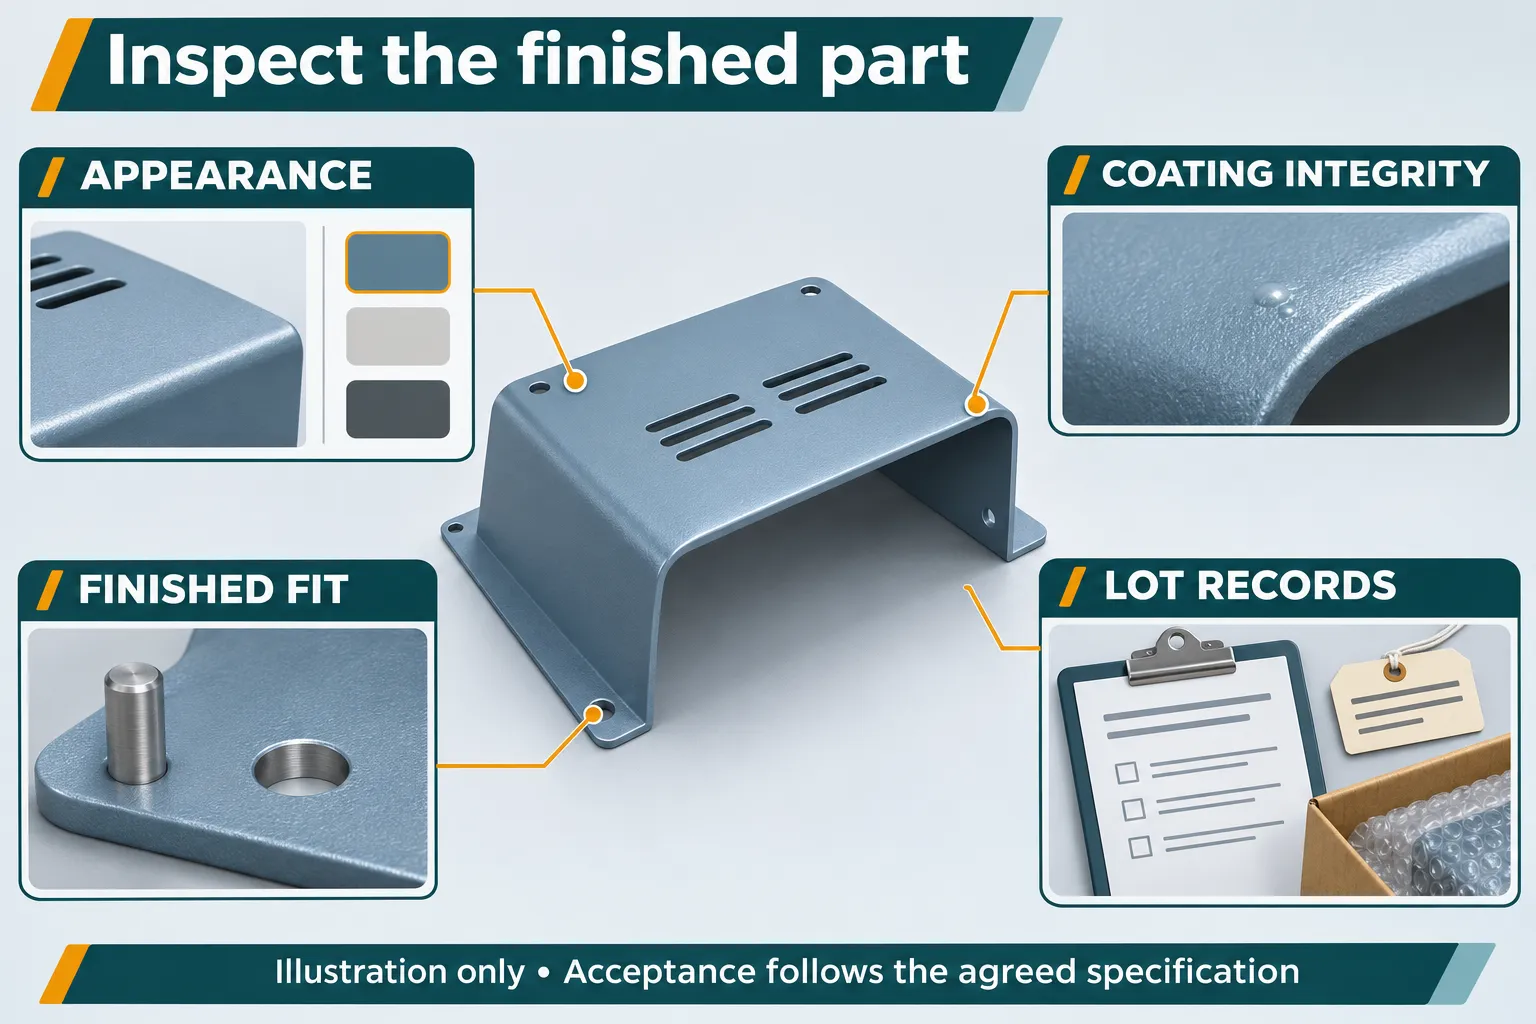
Separate appearance evidence from process diagnosis
For powder-coated parts, poor adhesion can warrant a review of preparation and cure records. Recess coverage also depends on application conditions. Ask for the evidence relevant to the observed location rather than prescribing a change to the coating line. PPG troubleshooting guidance
Orange peel, pinholes and blisters can each have more than one possible process cause. Compare the agreed texture and preserve the original surface before approving repair. Axalta coated-part checklist
For anodized aluminium, material and batch differences can influence colour. Agree a suitable appearance range for the actual project and compare adjacent parts together. SAF colour-range guidance
Record whether a difference occurs within one part, within a load or between loads; that distinction helps structure the supplier investigation. QUALANOD defect catalogue
For detailed process troubleshooting, continue to the powder coating guide or the electroplating appearance guide. Keep the receiving decision tied to your specified part.
Inspect finished fit, including masked features
An added layer on a bore occupies space on both walls. In an illustrative uniform-deposit calculation, a 6.00 mm bore with 0.05 mm added to each wall becomes approximately 5.90 mm: D = D₀ − 2t. This assumes no substrate removal and is not a recommended coating thickness. Actual coverage may vary, and anodizing requires its own dimensional assessment.
Identify whether holes, threads and mating faces are accepted before or after treatment. Check contact areas against the required surface condition and functional test; visual metallic appearance alone is not an acceptance result.
A receiving inspector should be able to point to the drawing requirement, the measurement location and the recorded result. If the drawing leaves the finished condition ambiguous, resolve it before releasing the affected parts for assembly.
Read corrosion reports in the context of the part
Salt-spray exposure hours do not provide a universal conversion to outdoor service years. ASTM B117 describes a controlled test environment; the product specification must establish the relevant specimen, exposure and interpretation. ASTM B117 public scope and significance
When reviewing a report, check the finish identity, represented part or specimen, test conditions, evaluation areas and acceptance criteria. Record how edges or intentional scribes were treated. Establish whether the report supports process qualification or a specific delivered lot; those are different uses of evidence.
Build a release record that can be reviewed later
| Record | What should be identifiable |
|---|---|
| Lot and drawing | Part number, revision, quantity and finishing batch |
| Appearance | Approved sample and agreed observation conditions |
| Thickness and integrity | Required locations, method, results and limits |
| Finished fit | Mating features, masking boundaries and functional checks |
| Corrosion evidence | Applicable specimen, test conditions and acceptance criteria |
| Disposition | Affected quantity, containment, approved action and reinspection |
These are suggested record fields, not a universal sampling plan. Agree sampling and release responsibility for the product.
If an issue appears, retain both affected and comparison parts, preserve packaging evidence where relevant, and describe the location without guessing the cause. Obtain approval for a rework proposal before altering the lot, then recheck the characteristics affected by that work.
Send a useful finish query with your drawing
Tell the supplier what happened, where it happened and when it was first observed. Include the inspected quantity, affected quantity, drawing revision and sample reference. Annotated overall and close-up photographs make the concern easier to locate.
For a custom stamped or sheet-metal part, send HARVLAND a drawing, sketch or photograph with the visible faces, mating features and contact areas marked. Include the environment, expected quantity and open questions. You can leave the finish choice as “to be confirmed” while discussing the requirements. Send drawings for review.