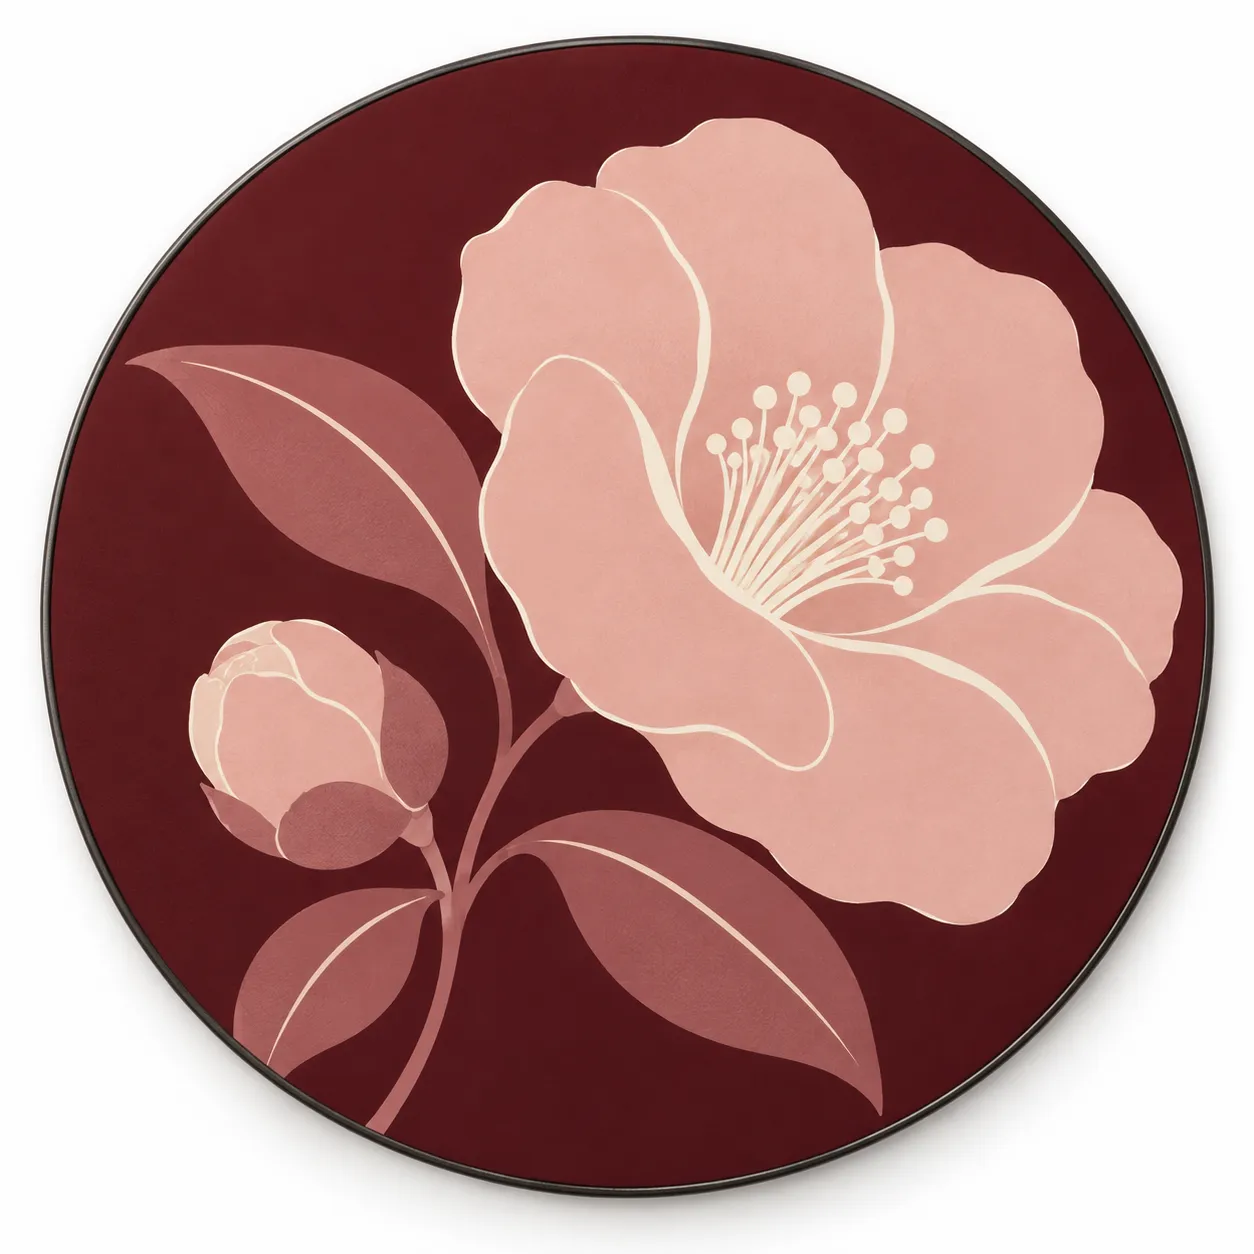
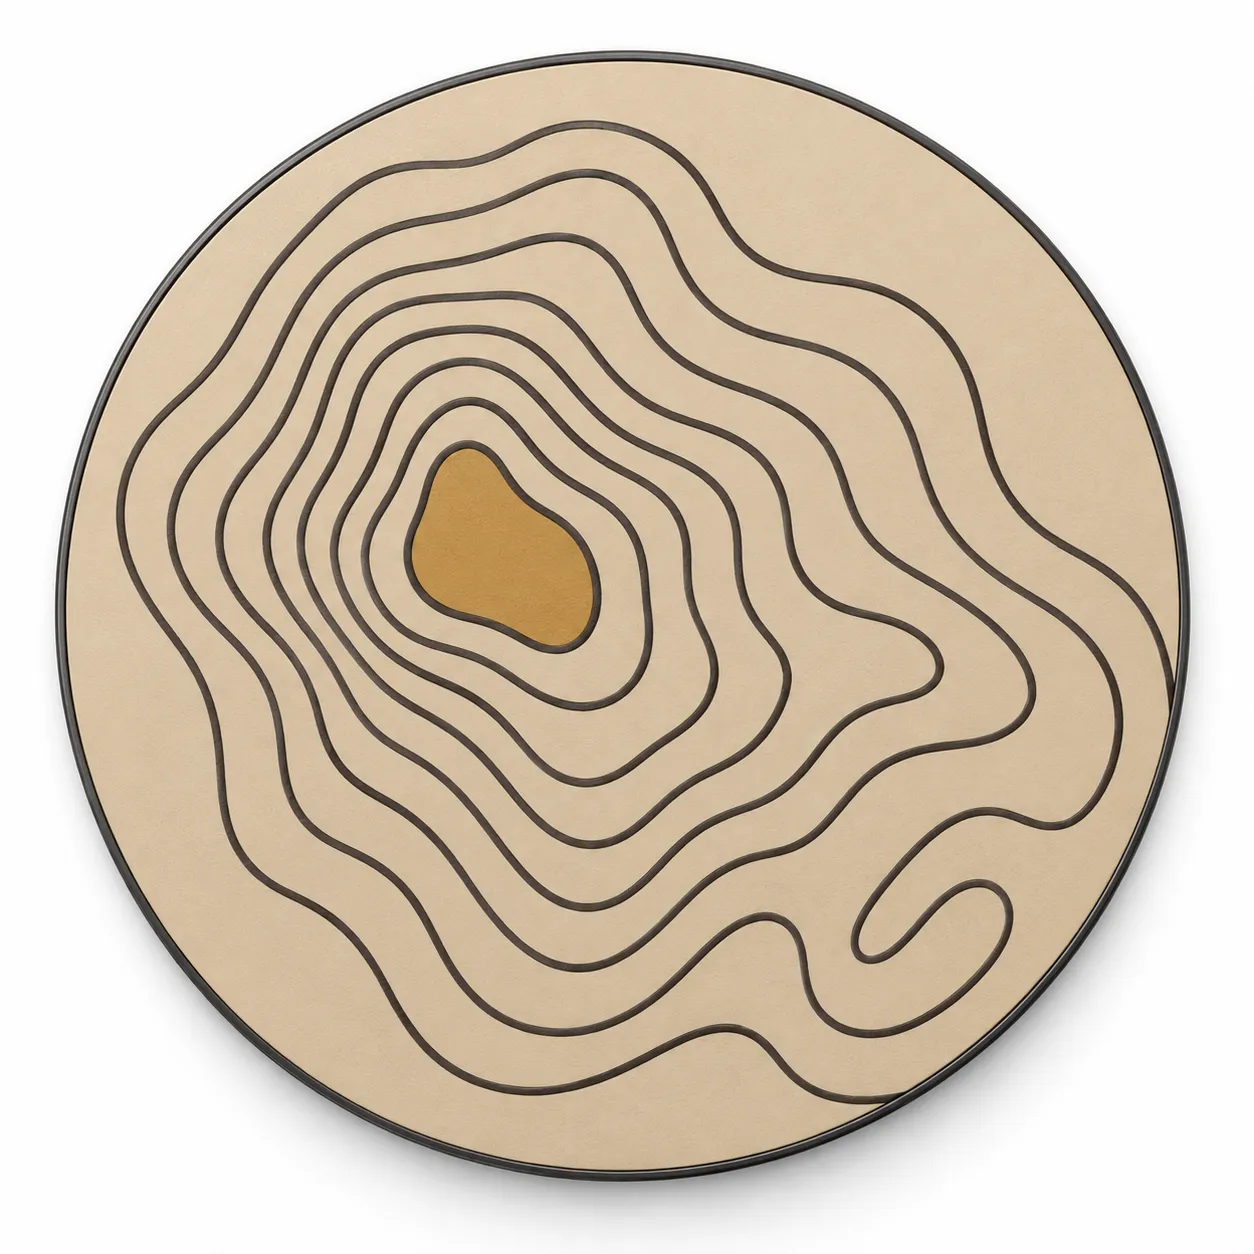
A fine leaf vein, a large orange area and a pale mountain ridge create different printing challenges. Start by identifying the actual surface that receives the ink, then agree the artwork, layer order and acceptance criteria together.
This guide covers direct UV inkjet printing on a finished part. The six coaster images are design visualizations for discussing appearance; a physical sample on the specified surface is needed to approve the result.
1. How ultraviolet light turns ink into a film
UV-curable ink contains reactive components and photoinitiators. When a suitable UV source illuminates the deposited ink, the photoinitiators start reactions that form a polymer network. This is a chemical curing step, rather than relying mainly on liquid evaporating from the image. The light spectrum must suit the ink formulation. [1]
Because the process does not depend on the substrate absorbing the ink, compatible UV systems can decorate non-absorbent surfaces. Ink formulations differ in flexibility and their intended substrates; the appearance of a print alone does not identify its ink or prove its performance. [2]
2. The workflow: artwork, preparation, printing and inspection
Treat the following as a sequence to qualify for the chosen part and printing system. Fixtures, primer, layer order and cure settings are established during sampling.
- Prepare the artwork at final size, with the print boundary, orientation and any white or clear-ink areas identified.
- Confirm the metal and its actual surface finish; clean it using a compatible procedure and keep it free of handling contamination.
- Apply a qualified pretreatment or primer if the ink and surface require it.
- Locate and hold the part in a repeatable fixture, then set print height and alignment for its flatness and geometry.
- Print the specified white, color and optional clear layers, using the curing sequence supported by the ink and machine.
- Inspect appearance and adhesion, then evaluate the agreed cleaning, moisture and cup-contact conditions before accepting the sample.
3. The ink meets the surface finish, not just the metal name
Bare aluminum, anodized aluminum and a painted aluminum face present different interfaces to the ink. Residual oil, dust or fingerprints can interrupt that interface. Specify the finish and cleaning method as part of the print specification; check that cleaning does not damage the underlying coating. [3][4]
Primer is not universal. Roland DG's cited guide recommends its particular primer for stainless steel and aluminum but states that it has no effect on copper or brass; that restriction belongs to that system. Highly reflective surfaces also need machine-specific review because reflected UV can cure ink near the printhead. Qualify the actual combination rather than applying one treatment to every metal. [3]
4. White ink, CMYK and clear ink do different jobs
CMYK inks create the color image. On a dark or transparent surface, a white underbase helps separate those colors from the background. On an already white surface it may be unnecessary. For an opaque coaster viewed from the printed face, a possible stack is substrate, compatible primer if needed, white underbase, then color; confirm the actual order with the printing system. [2][5]
White can cover the whole image or selected areas. Its coverage and alignment affect pale colors and fine edges: a misplaced white layer can leave a visible halo. Optional clear ink changes gloss or creates texture when the system supports it. It is a separate design choice, not automatic proof of scratch or cleaning resistance. [5]
5. Curing depends on the ink, light and deposited layer
LED wavelength, irradiance at the print, exposure time and ink formulation work together. Energy density describes the light energy delivered per area, while irradiance describes the rate of delivery. One setting cannot substitute for every other parameter. [1][6]
A thicker ink build or a different color can change how light reaches the layer. Dirt on a lamp window can reduce delivered UV. When a sample is tacky or peels, inspect the specified cure conditions and the substrate preparation; increasing lamp power alone does not establish the cause. Use the ink supplier's procedure to decide whether an additional curing pass is appropriate. [4][6]
6. Six coaster patterns, six useful print checks
These AI-generated concepts show color and composition options. Use the same features as checkpoints on the physical proof; their pictured surface and colors are not measured production results.
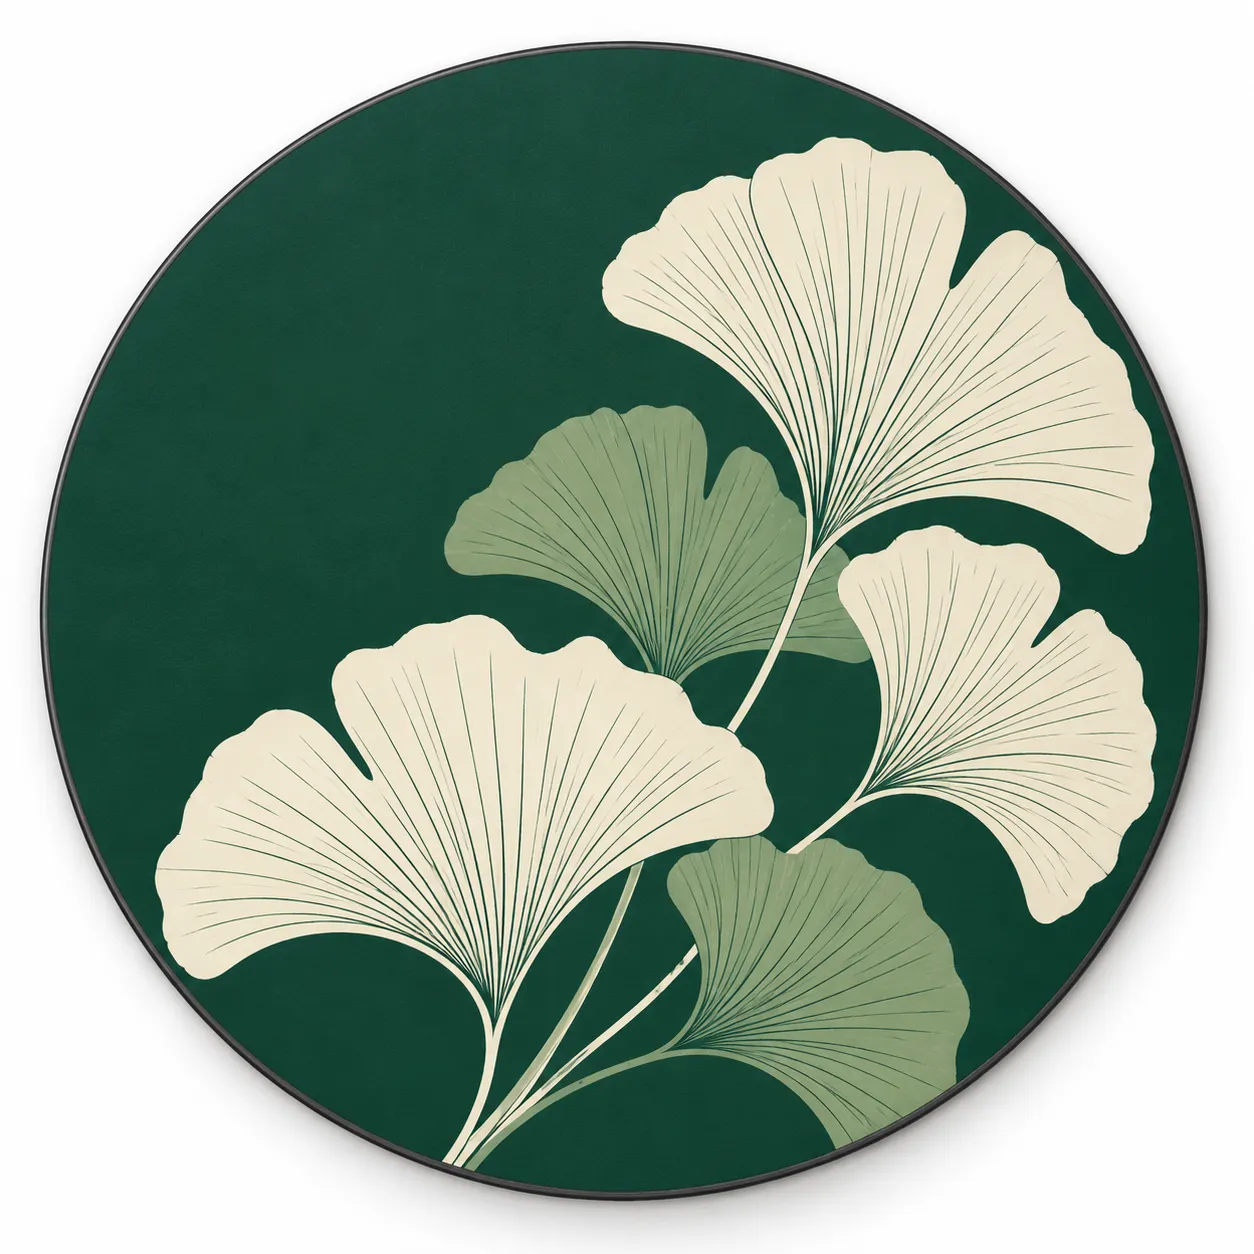
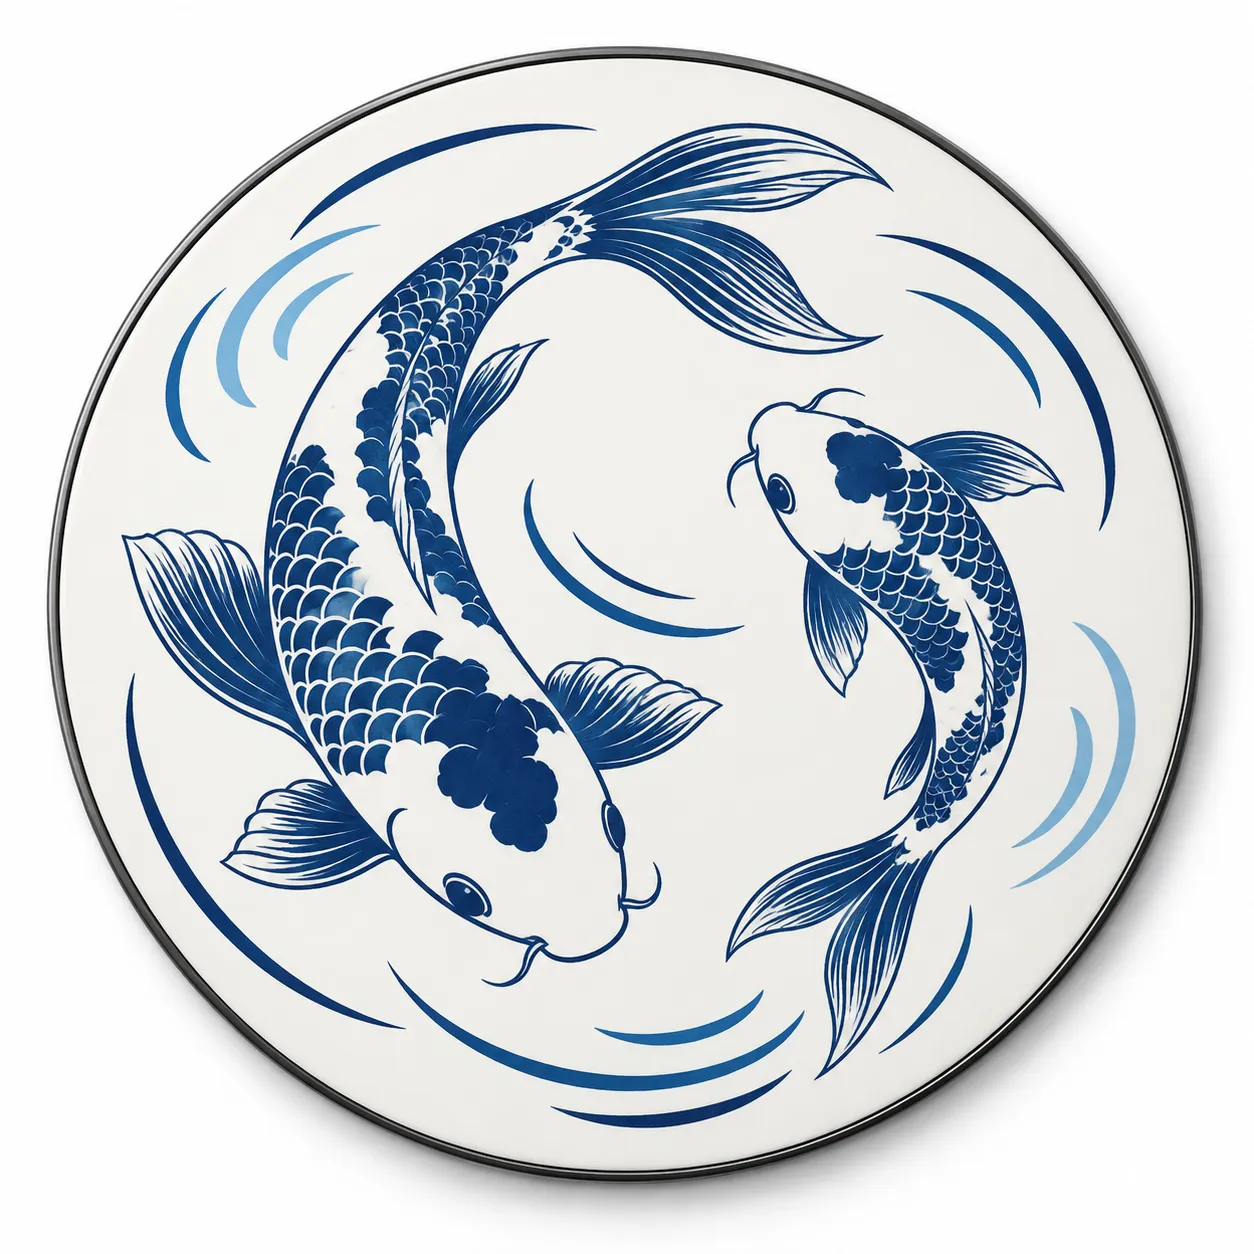
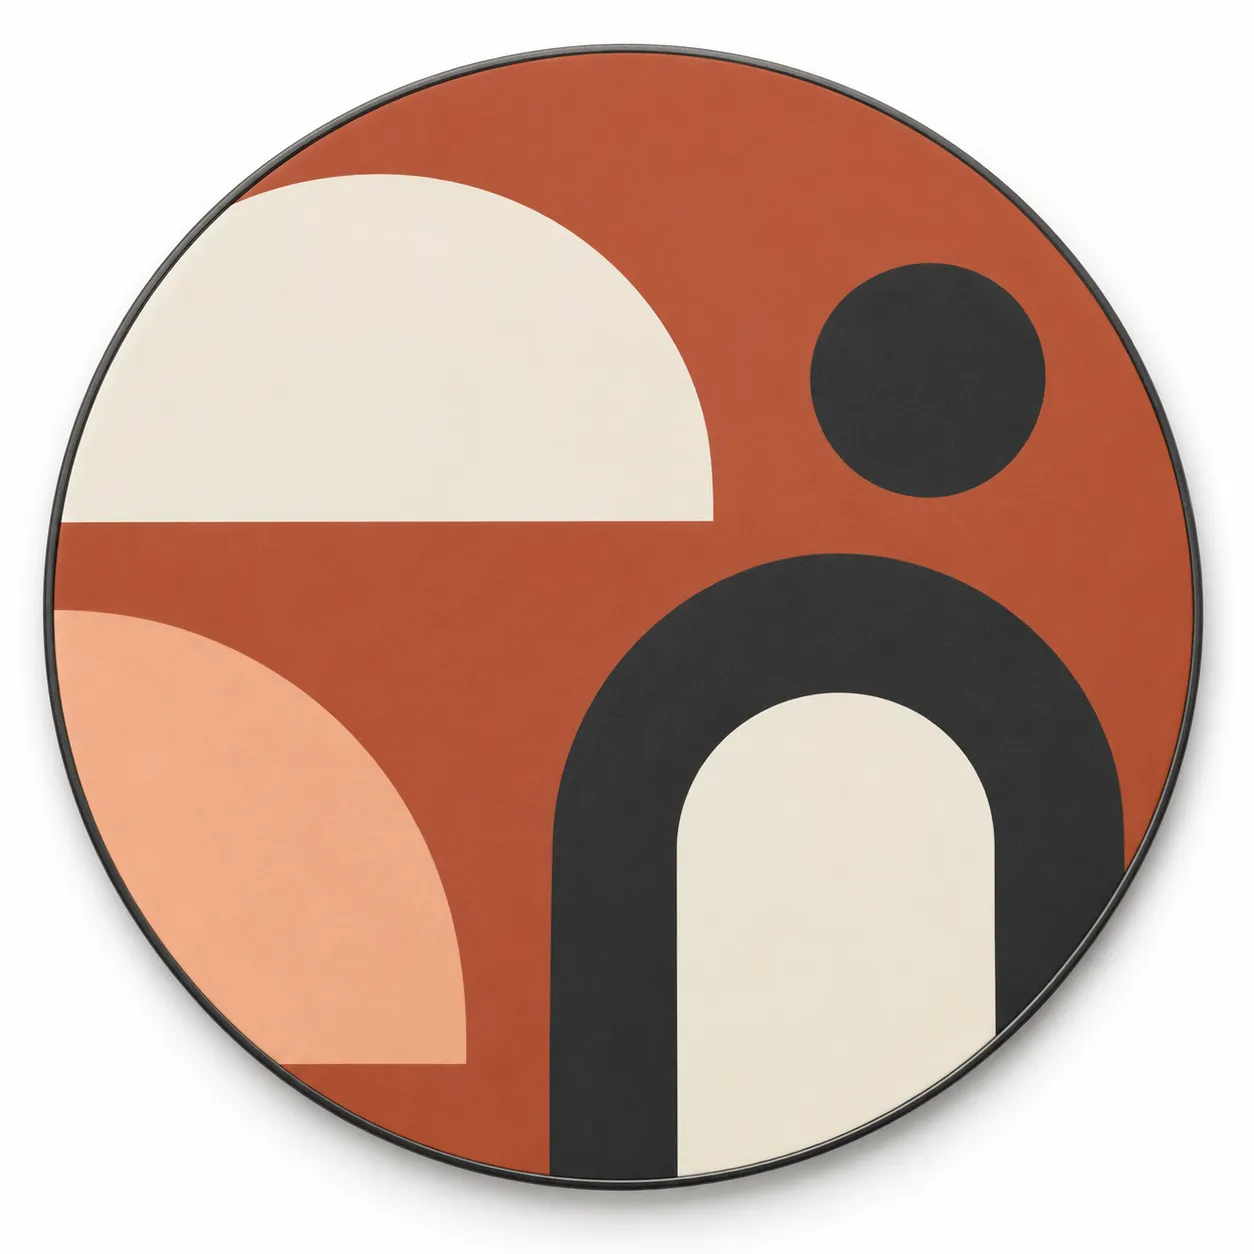
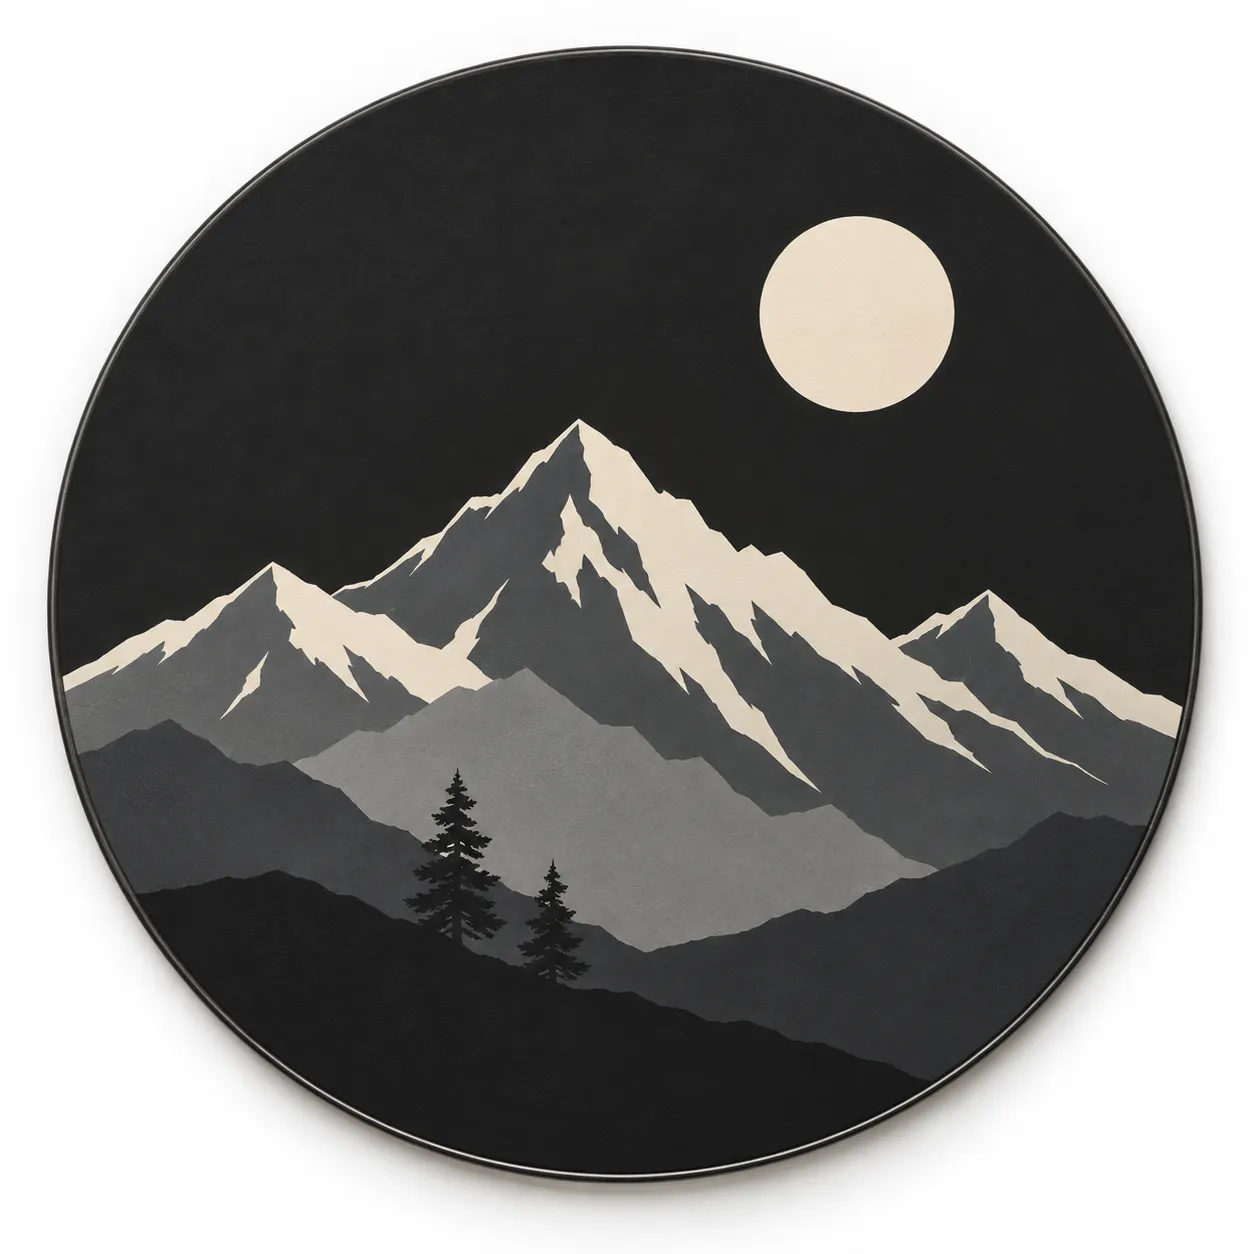
7. Separate appearance defects from performance acceptance
Record where a defect occurs and which layer lifts or changes. The following observations guide a trial; they do not diagnose a cause from appearance alone.
| Observation | Possible contributors | Useful first check |
|---|---|---|
| Ink lifts or flakes | Contamination, incompatible surface/primer, insufficient cure | Compare preparation and cure records; examine the failure interface. |
| Pale colors look dull or uneven | Substrate showing through, white-layer coverage or ink limits | Compare the same artwork with an agreed white-layer setup. |
| Banding or broken fine lines | Nozzle condition, alignment, print mode or artwork detail | Check the nozzle pattern and a final-size detail proof. |
| Wear, staining or color change in use | Ink/finish compatibility with the actual exposure | Agree the liquid or cleaner, contact conditions, cycles and acceptance limit. |
For coasters, evaluate adhesion separately from cup abrasion, moisture, cleaning and heat exposure. Define the test method, conditions and allowed change with the buyer. “UV printed” alone does not establish dishwasher suitability or a service-life rating.
8. Prepare the file and the brief together
Send the vector artwork when available, a final-size layout and a color reference. Identify which areas should remain metallic, whether the background is printed or already colored, and whether white or clear ink is intended. A product rendering helps communicate appearance but is not the flat artwork file used by the RIP.
For a conventional QR Code, keep an empty margin at least four modules wide on every side; a module is one small square in the code. Choose the final size by printing and scanning the actual code on the intended finish, including reflections and viewing distance. The destination may be a website, social profile or another chosen page. [7]
Also provide the part drawing or dimensions, finish, quantity, cleaning method and intended use. Uncertain items can be marked for discussion. The earlier coaster guide covers artwork orientation and sample approval in more detail.
- [1] Excelitas — UV curing chemistry and wavelength matching
- [2] Mimaki — UV-curable inks, white layers and ink types
- [3] Roland DG — Primer printing and material-specific limits
- [4] Mimaki — Troubleshooting UV ink adhesion
- [5] Roland DGA — CMYK, white ink, clear ink and primer
- [6] Excelitas — Irradiance, energy density and LED compatibility
- [7] DENSO WAVE — QR Code quiet-zone requirements