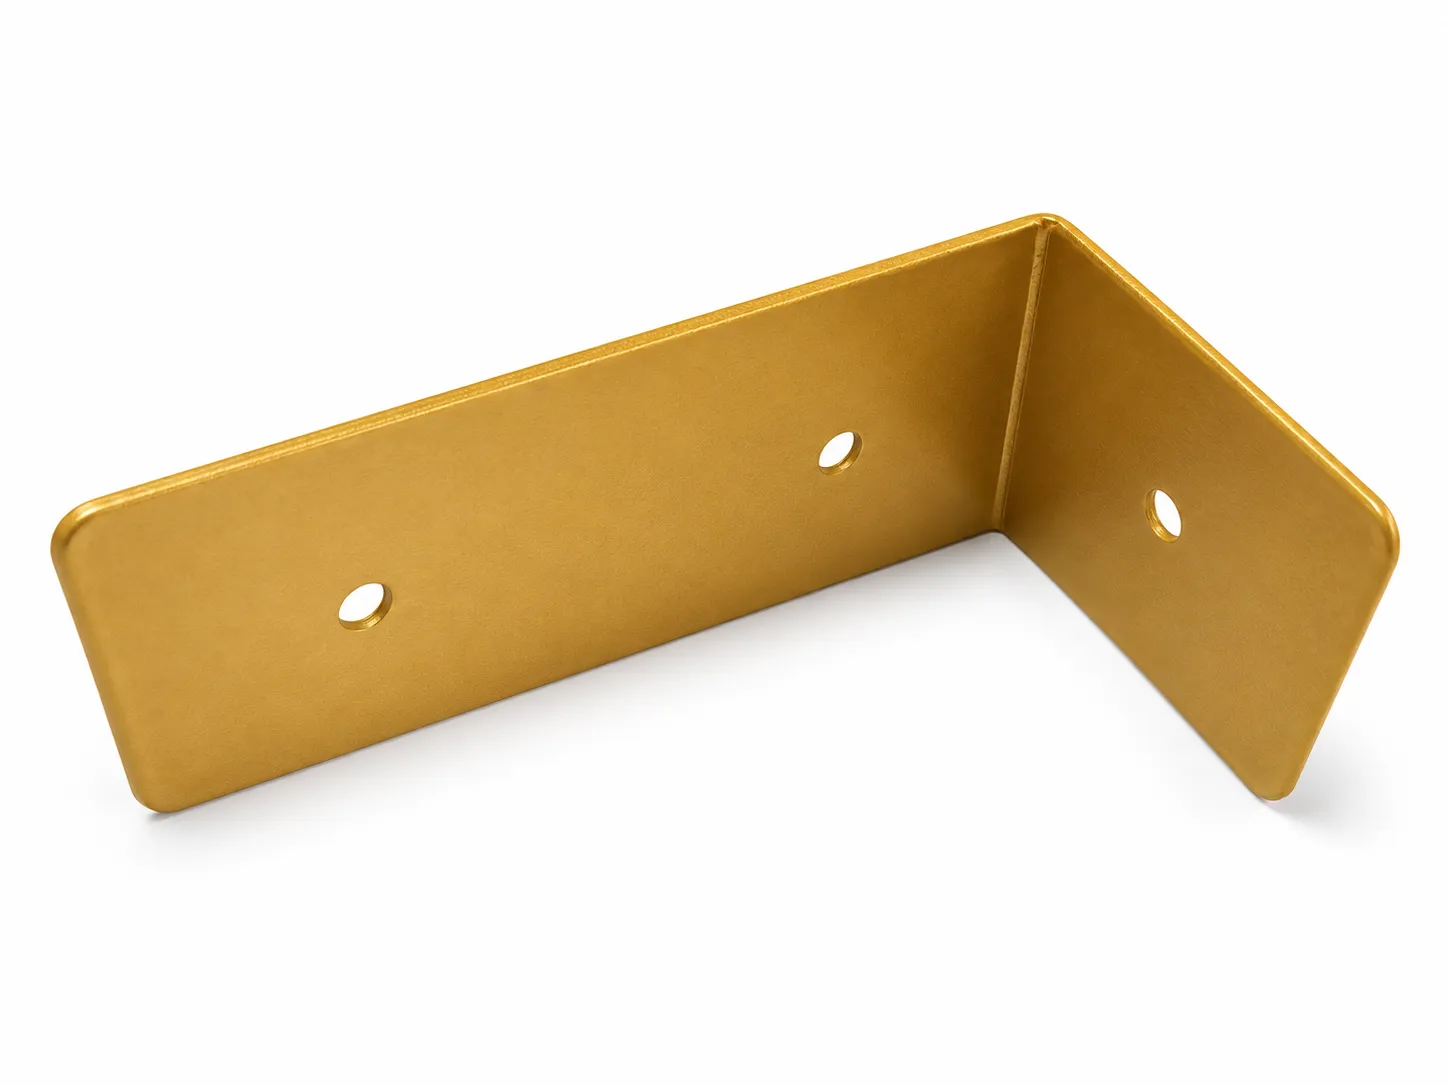
Custom lighting brackets connect a light fixture to its mounting structure. For lighting OEMs, buying the right metal bracket starts with the hole pattern, bend direction, available installation space and visible finish. These details turn a part sketch into requirements that can be discussed, quoted and checked.
The gold-colored L-shaped lamp mounting bracket shown here has unequal legs, two through holes in the long leg, one in the short leg and rounded outer corners. It illustrates one form of sheet metal lighting hardware: a bend places connection faces in different directions, while the holes follow the fixture and mating-part layout. The photographed shape is a sample configuration, not a universal mounting specification.
Sample image retouched from a supplied photograph for background and lighting. Dimensions, material and finish are defined by the approved drawing and sample.
L-shaped lamp brackets: connect the shape to the installation
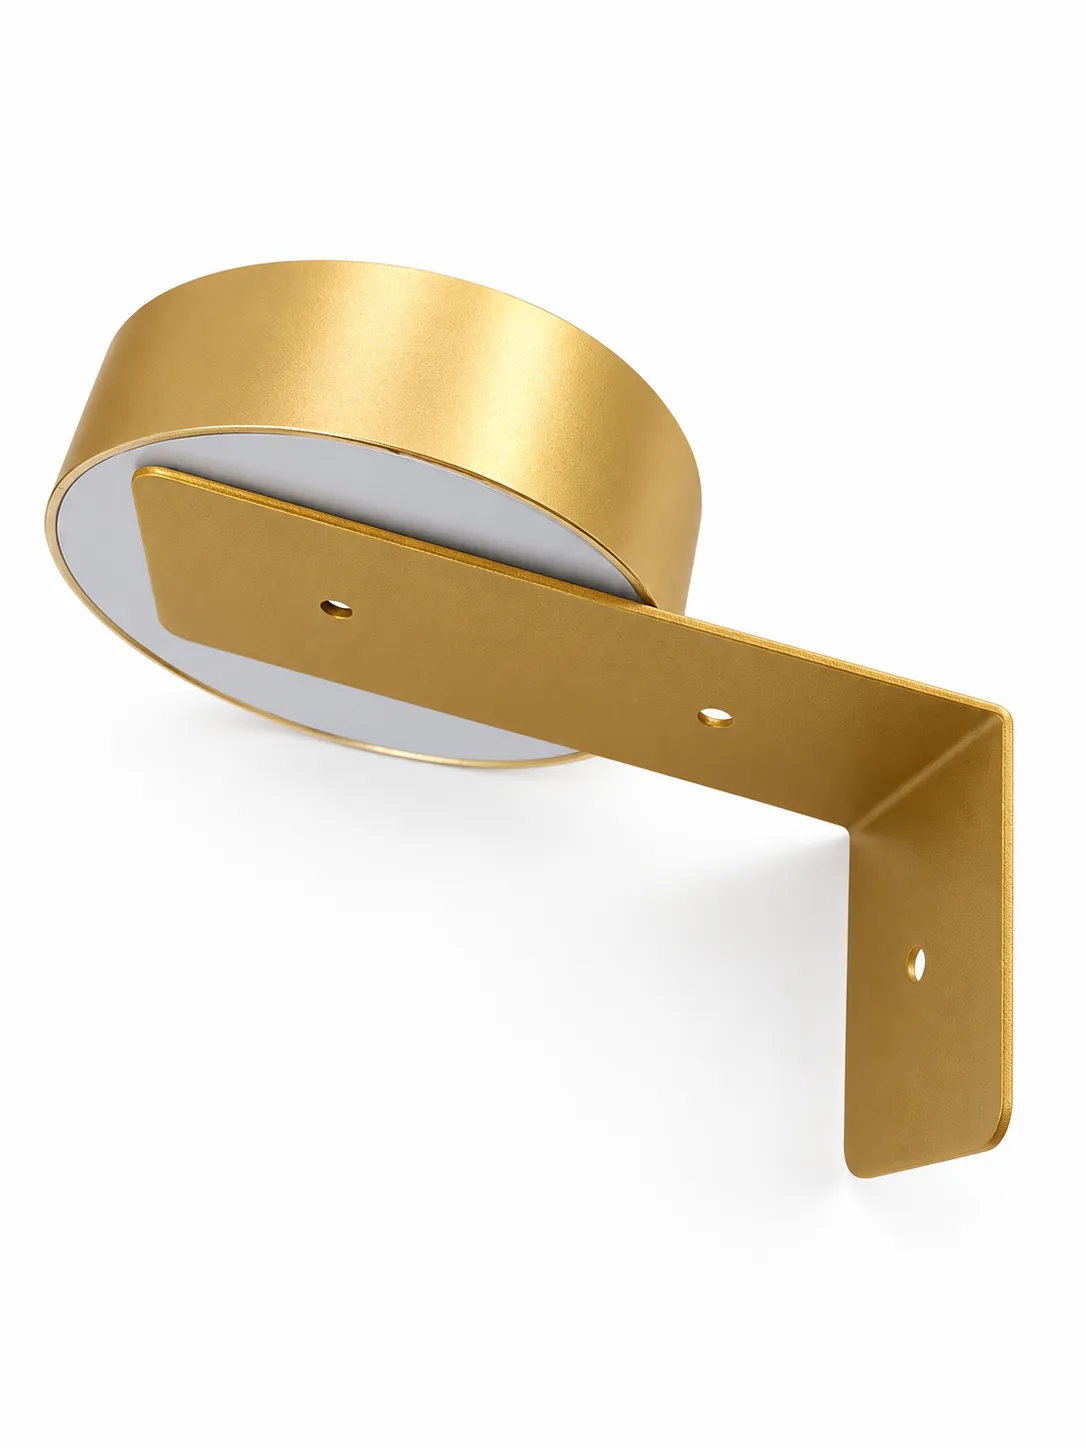
The long leg of this bracket carries two holes. The shorter leg places another hole on the bent connection face. An L-shaped metal bracket is a design option to evaluate when a lighting assembly needs a change in connection direction. Leg length, bend location and orientation should follow that assembly.
Viewed beside the round lamp body, the first questions are which face contacts the fixture, which connects to another structure and which side provides fastener access. Similar-looking light fixture mounting brackets can have different hole spacing, mounting heights and tool clearances. The context photograph shows the relationship between the parts; hidden attachment details still need to be defined in an assembly drawing.
Light fixture mounting brackets: check holes and formed fit
Define mounting holes together with the mating component. On the long leg, hole diameter, center spacing and distance from the locating edge affect fastener alignment. The short-leg hole also needs to be checked in its final spatial position after bending.
Hole spacing on one flat face and mounting positions across a bend are separate inspection questions. Correct long-leg spacing does not ensure that the short leg will seat correctly if the bend angle or location differs. Specify the finished inspection condition and mounting references, then check samples with the actual lamp body, base or mating component.
| Custom bracket detail | What the buyer should explain | Sample checkpoint |
|---|---|---|
| Holes and spacing | Which holes align with which part; intended fasteners | Alignment and installation as designed |
| Leg lengths and bend direction | Fixture position, mounting faces and available envelope | Seating and clearance from nearby parts |
| Visible gold-colored finish | Exposed faces and the component to match | Color, gloss and texture under agreed conditions |
| Edges and corners | Areas near hands, wiring or mating components | Burrs or sharp edges that affect use |
| Supply scope | Bracket only, or separately specified fasteners | Parts list, drawing revision and sample agreement |
Sheet metal lighting brackets and stamped lighting parts
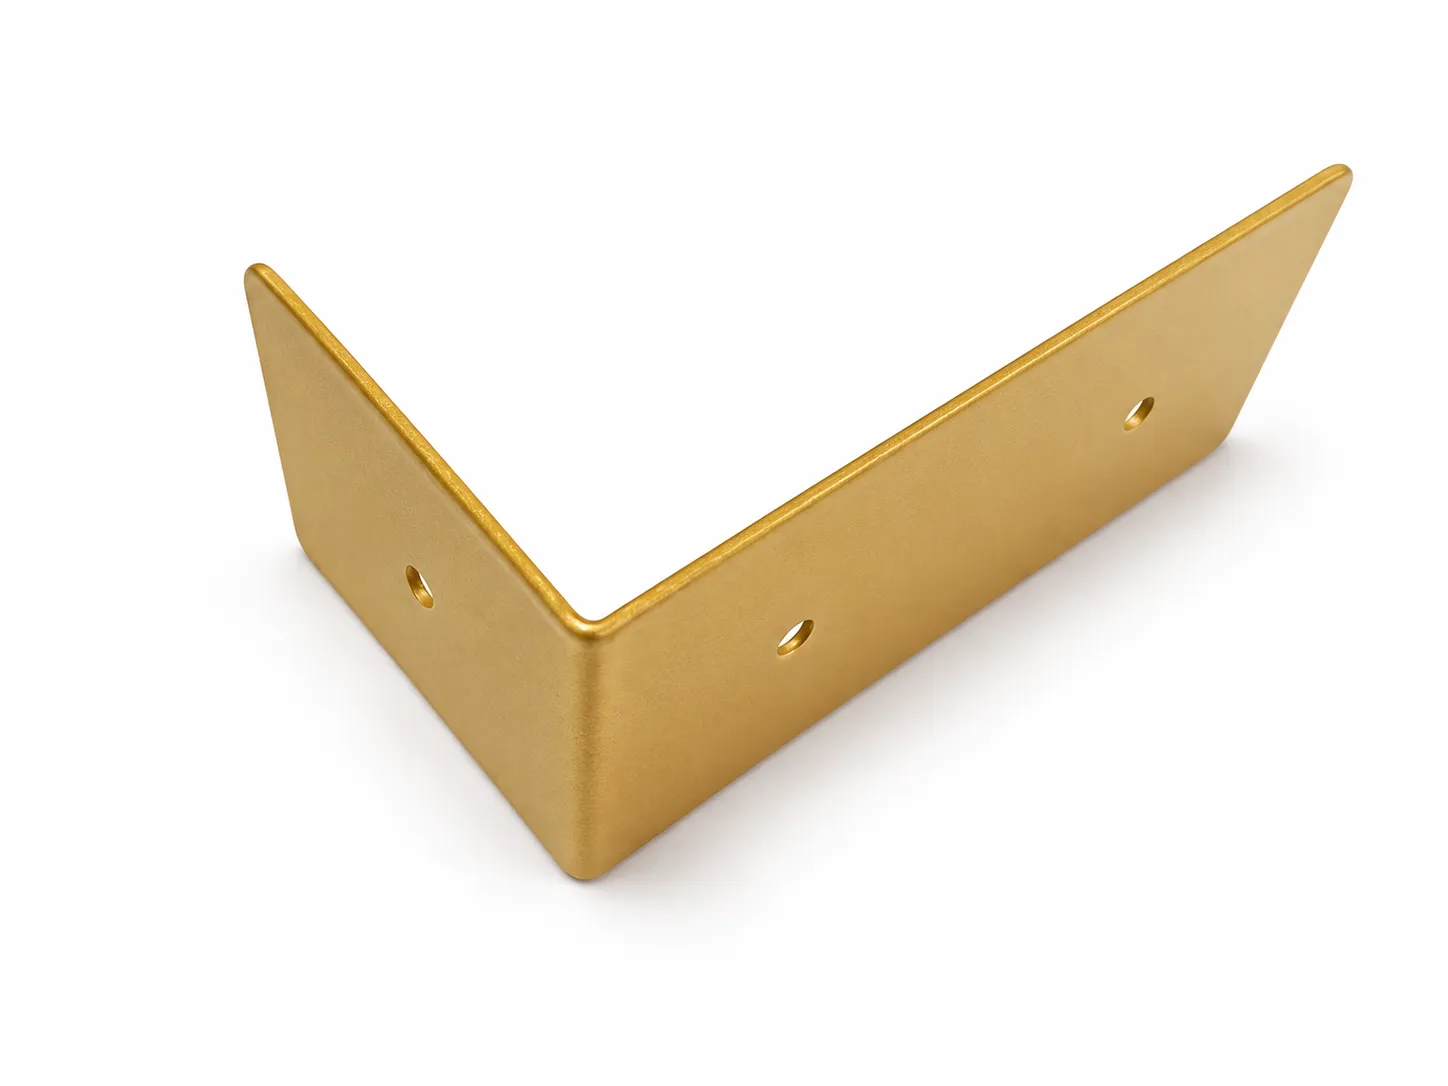
Buyers may describe these components as sheet metal lighting brackets, stamped lighting brackets or bent metal brackets. For a part with holes and a bend, define the outline, hole making, forming and finish requirements separately. The manufacturing route can then be evaluated against the drawing, order quantities and design maturity. A photograph alone does not establish the cutting equipment or tooling used for this sample.
Provide both the sample quantity and expected repeat-batch quantities. If hole locations may change, identify the current revision as a development or sampling version. For repeat orders, retain the approved drawing, appearance sample and acceptance requirements so quotations refer to the same part and delivery condition.
Material and sheet thickness also need to be specified. If these are still open, provide the fixture weight, mounting arrangement and service environment as inputs for material and structural review. A gold-colored appearance does not identify the underlying metal.
Gold-colored lighting hardware: match the visible parts
An exposed lamp bracket contributes to the appearance of the assembled fixture. Placing a gold-colored bracket next to a gold-colored lamp housing can make differences in shade, gloss and texture easier to see. Specify the matching component and acceptable appearance range rather than simply requesting “gold.”
Compare physical parts under the same lighting and agreed viewing conditions. Photographs help communicate the intended look; an approved sample or color panel provides a more useful basis for appearance acceptance. If a metallic powder coating is selected, agree on its application and color-matching conditions with the coater. The actual surface treatment on this sample has not been confirmed.
For projects supplied with other metal lighting components, identify visible faces that need protection during packing. Parts should not rub against one another in transit, and packaging should suit the selected finish.
Custom LED light brackets and wall light mounting projects
For LED light mounting brackets, wall light brackets or decorative lighting hardware, start with the fixture assembly drawing and assess whether this type of L-shaped connection suits the design. The lighting category does not define the required hole spacing, mounting face, load or clearance.
A wall light project should identify whether the bracket connects to the fixture body, a base or an intermediate part. An LED fixture project should show nearby components and the required installation and wiring space. Outdoor projects also need their actual exposure and protective-finish requirements specified. The pictured sample has not been qualified for every application or environment listed here.
Lighting manufacturers, brands and OEM purchasing teams can submit these details with their part drawings to discuss custom light fixture mounting brackets. Final fit, load and electrical requirements remain part of the corresponding complete-product evaluation.
Requesting custom lamp mounting hardware
To discuss custom metal lighting brackets with HARVLAND, send a 2D drawing, 3D model, sketch or sample photograph together with a view of the mating fixture. Include known material, thickness, hole and finish requirements; mark unresolved items for discussion.
Start with four practical points:
- Where it mounts: the fixture or base, exposed faces and fastener access.
- What must align: mounting holes, contact faces and areas that must remain clear.
- What should be supplied: appearance reference, sample and repeat quantities, and any separately requested fasteners.
- What needs resolving: an open hole layout, finish matching or an awkward existing installation.
Explore the custom metal bracket design guide for broader structural considerations, or visit the custom metal brackets product page to begin a drawing-based discussion.